
Written in PHP, WordPress is an opensource and arguably the most widely used CMS ( Content Management System ) used to create dynamic and stunning websites. From simple blogs to eCommerce stores and leading global news agencies, WordPress has been the go-to option in building elegant and responsive websites thanks to numerous themes, tons of plugins, and a vast community of opensource developers.
In this guide, we explore how you can install WordPress on your domain.
A few things to consider before installation
Before you get started with the installation ensure that your dedicated web hosting provider fulfills the following prerequisites:
- Apache or Nginx web server running
- PHP 7.4 and later versions
- MariaDB 10.1 or MySQL 5.6 and later versions
Step 1: Download WordPress
The first step in the installation of WordPress is downloading WordPress. Most hosting providers provide WordPress as one of the applications you can install using a click of a button using softaculous cPanel. If your hosting provider doesn’t provide this option, you can manually download the WordPress zip from the official WordPress downloads page. To your local computer.
If you are more tech-savvy and have shell access to your server using the SSH protocol , you can use the wget command as follows to download the latest WordPress zip file. Currently, WordPress 5.7 is the latest version.
$ wget https://wordpress.org/latest.tar.gz

The command downloads a tarball file called latest.tar.gz
Next, extract the compressed file as shown:
$ tar -xvf latest.tar.gz
During the extraction, some output will be displayed as shown showing the various directories included in the zip file

The extraction yields a folder called wordpress as indicated below.

Next, copy the extracted folder to the domain’s web root directory path which is /var/www/html.
$ sudo cp -R wordpress /var/www/html

Next, set the ownership of the wordpress directory to www-data user and group.
$ sudo chown -R www-data:www-data /var/www/html/wordpress
Additionally, configure the permissions as shown.
$ sudo chmod -R 775 /var/www/html/wordpress/
If you are using cPanel, Login to your domain

Once logged in , click on the ‘File Manager’ icon.

Then navigate to the web root directory which is the public_html directory.

Now, click on the ‘upload’ icon as shown

And select the WordPress zip file that you downloaded earlier on your local PC.

Next, extract the zip file as shown.


Once the files are extracted, delete the zip file. Next, navigate to the WordPress file and click ‘select all’ to highlight all the files and directories therein. Thereafter, right-click and select ‘move’.

On the dialogue box provided, specify /public_html/ as the path that you want to move. This is the webroot directory. And finally, click on ‘Move File(s)’.

Step 2: Create a database for WordPress
A database is required to store WordPress database files. And for this reason we will proceed and create a database specifically for WordPress.
On the shell, invoke the command below to access the MariaDB database
$ sudo mysql -u root -p
Once logged in to MariaDB shell, create the WordPress database:
CREATE DATABASE wordpress_db;
Next, create a new user and then grant privileges to WordPress database.
GRANT ALL PRIVILEGES ON wordpress_db.* TO ‘wordpress_user’@’localhost’ IDENTIFIED BY ‘P@ssword321’;
Be sure to replace the wordpress_db , wordpress_user and , P@ssword321 with your own WordPress database, database user and password values respectively.

Lastly, save changes and exit as follows
FLUSH PRIVILEGES;
EXIT;
Thereafter, navigate to the document root directory .
$ cd /var/www/html/wordpress
You need to rename the wp-config-sample.php file to wp-config.php .Run the command below to achieve this.
$ sudo mv wp-config-sample.php wp-config.php
Now, open the wp-config.php file
$ sudo vim wp-config.php
And modify the database parameters as shown to correspond with the values you provided when creating the WordPress database and user in MariaDB shell.

For cPanel users, you can create the databases in a much simpler way. Just head over to the databases section. Locate and click on ‘MySQL databases’ icon as follows.

In the MySQL window, specify your preferred database name and hit on ‘Create database’.

Then scroll down and create a database user as shown.

The user will be created successfully as shown. Now click ‘Go back’.

Next, head down to ‘Add User To Database’. Select the database user and the WordPress database to which the user will be added. Then hit the ‘Add’ button.

On the next window. Check all the privileges apart from the ‘Drop’ privilege which will not be required.

Then select ‘Make changes’ .

That is it as far as using the cPanel is concerned. The only thing remaining is to complete the WordPress setup on a browser which we shall come to later in Step 4.
If you are running commands on the shell, proceed with the next steps.
Step 3: Create a WordPress virtual host file.
By default, the Apache web server contains a default virtual host file which serves the default Apache welcome page. We need to create a custom virtual host file for WordPress which will serve our WordPress site.
Create the virtual host file as shown.
$ sudo vim /etc/apache2/sites-available/wordpress.conf
Edit it as shown

Once done, save and exit the file.
Check if all the configurations are okay as follows.
$ apache2ctl -t
Then, enable the virtualhost file
$ sudo a2ensite wordpress.conf
And reload the web server
$ sudo reload apache2
Additionally, we need to disable the default virtual host site
$ sudo a2dissite 000-default.conf
Again, reload Apache
$ sudo reload apache2
Step 4: Complete WordPress setup on the browser
This is the step where users using the cPanel and those running commands on the shell converge – completing the installation of WordPress on the web browser. So fire up your favorite browser and browse the URL shown.
$ http://domain or server-ip
The first page prompts you to select the installation language. Scroll and select your most preferred language and hit ‘Continue’.

On the welcome page, fill out the basic information such as the site name, username , password , & email.

Once done, click the ‘Install WordPress’ button as shown.

To log in to the WordPress dashboard, click on the ‘Login’ button.

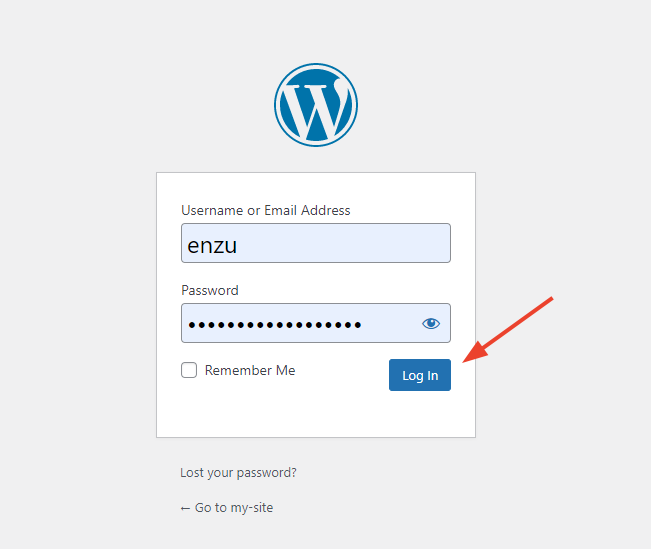
Input your username and password as you provided and click ‘Log In’
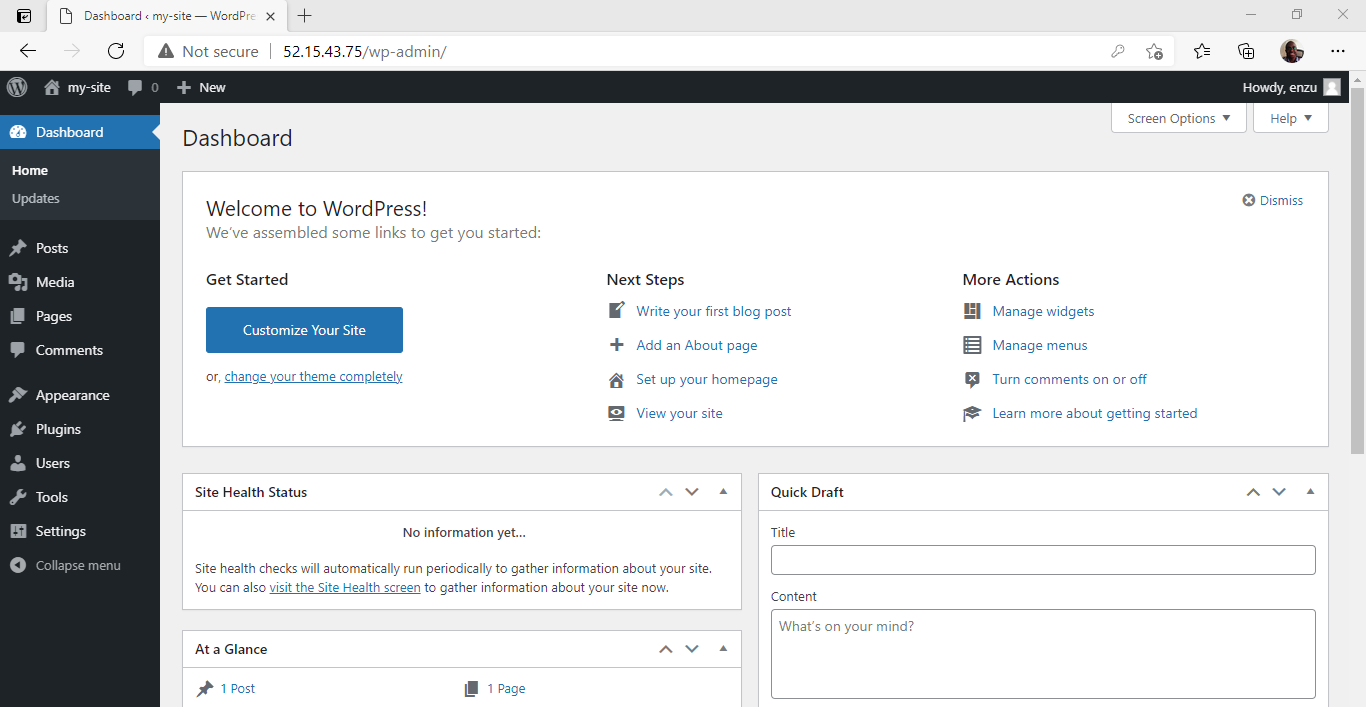
And voila! The WordPress dashboard will come into view. From here you can proceed and start building your website or blog.
Conclusion
We have demonstrated two ways that you can install WordPress on your domain. As you might have observed, the cPanel provides a graphical interface that simplifies the installation and comes recommended for non-technical users. For more experienced users who have a VPS server with shell access, then the command-line comes in handy. We hope you found this guide useful.